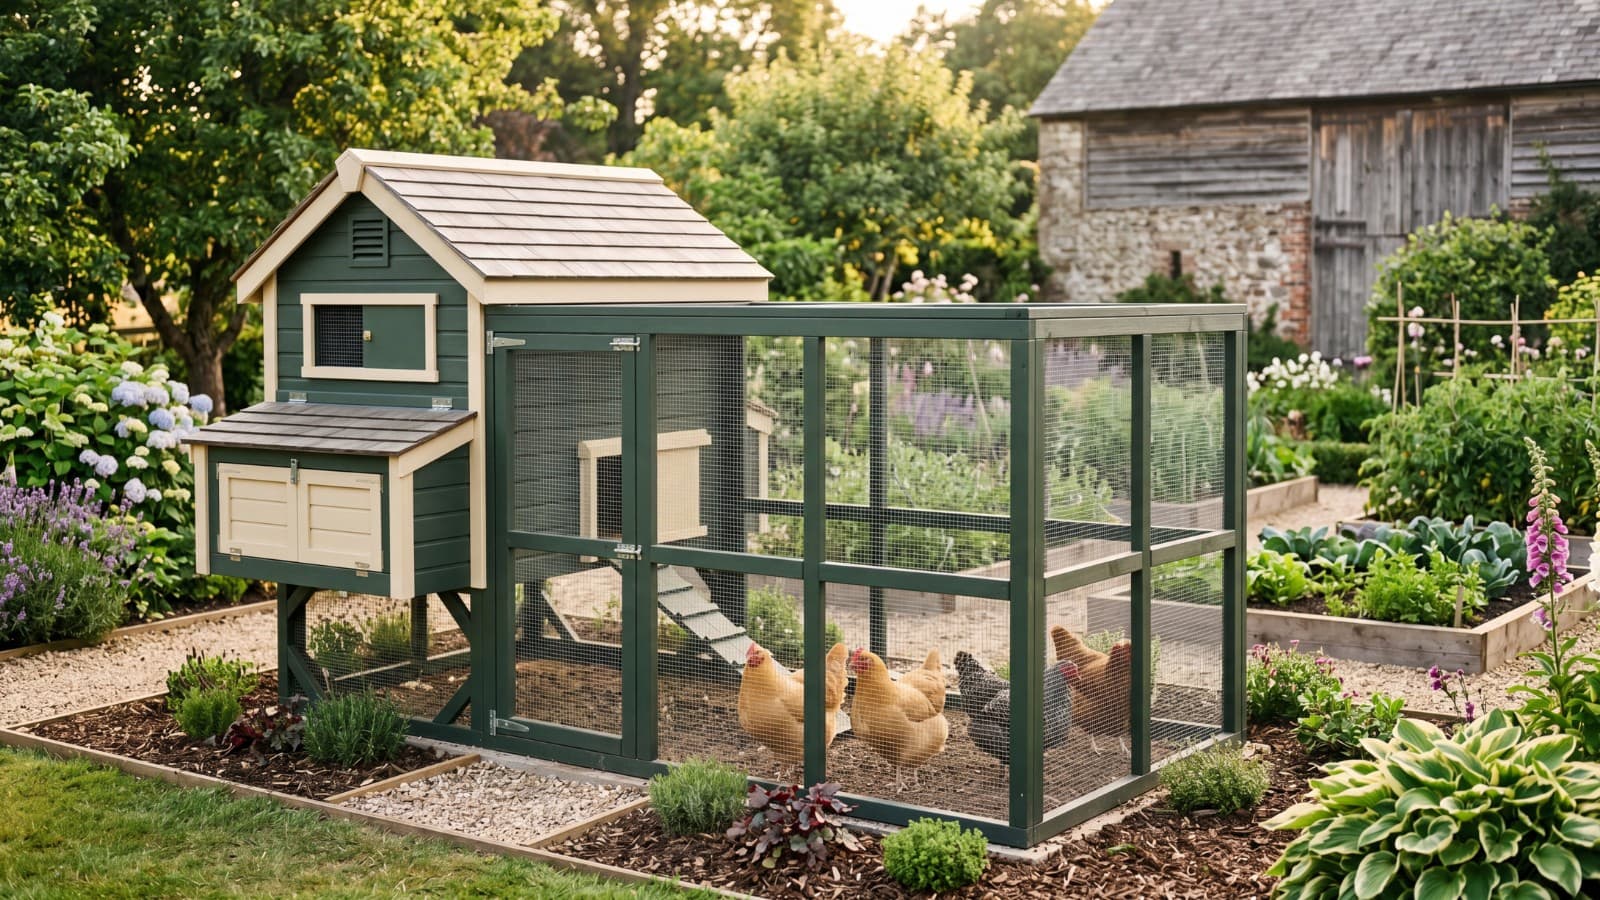
Building a DIY chicken coop is a highly rewarding project that allows you to customize your flock's home to your yard's layout and climate. While pre-fabricated coops are widely available, they are often made of flimsy materials and are under-sized for adult birds. Constructing your own coop ensures a sturdy, predator-proof structure that will last for years. This guide covers the essential preparation steps, the tools and skills you need, materials selection, and a practical build order for a successful DIY coop project.
Before you build
Before cutting any wood, you must research local zoning laws and homeowner association regulations regarding backyard poultry. Many towns have strict rules about coop setbacks from property lines and limits on flock size. You must also select a level, well-drained site in your yard. Placing the coop under partial shade helps protect the birds from summer heat, while good drainage prevents the run from turning into a muddy swamp. Make sure you avoid building in low areas where water pools after rain.
Consider how you will access electricity and water. Running a heavy-duty extension cord for a heated winter waterer is much easier if the coop is located within a reasonable distance of your home. You should also ensure that the coop path is easy to navigate with a wheelbarrow or garden cart, which makes cleaning chores much easier. Planning the layout before buying materials prevents layout errors that can cause construction delays.
Tools and skills you need
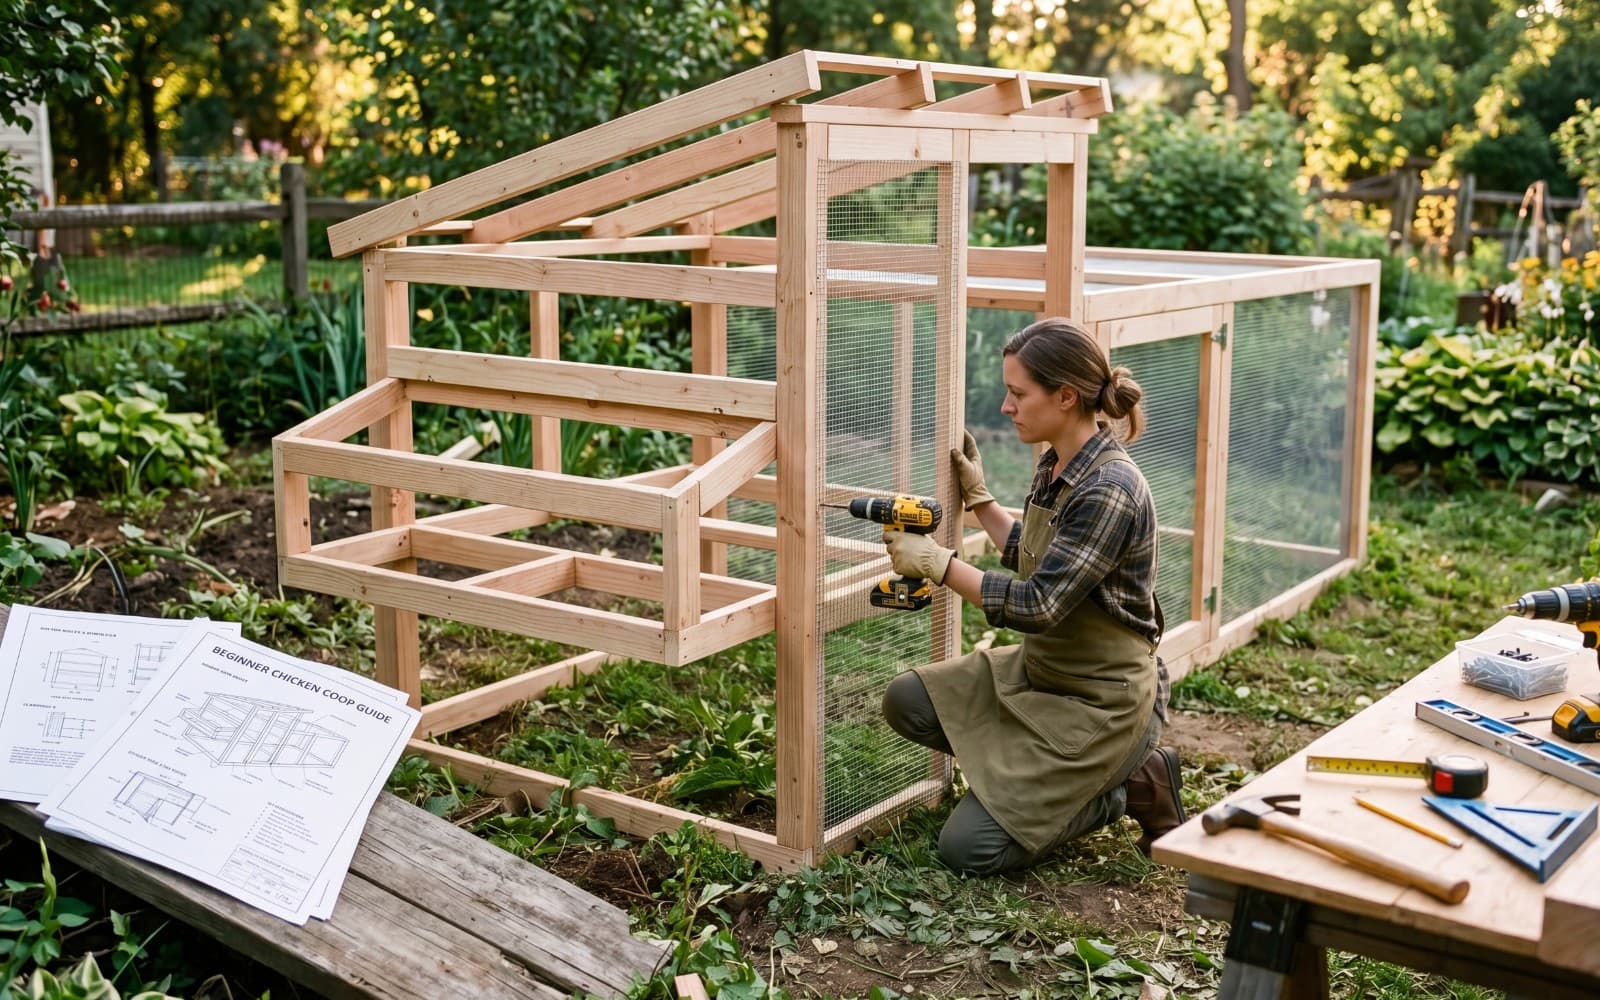
You do not need professional carpentry skills to build a solid coop, but having the right tools makes the project much easier. Essential tools include a circular saw or miter saw for cutting lumber, a cordless drill/driver for assembly screws, a level to ensure stability, and a heavy-duty staple gun for securing wire. A speed square is also highly useful for making fast, accurate 90-degree cuts on framing studs. A tape measure and chalk line are also necessary.
Having a pair of heavy-duty wire cutters is crucial for handling hardware cloth, which can be tough to cut with standard pliers. Using safety glasses and a dust mask when cutting pressure-treated lumber is also highly recommended to protect your eyes and lungs from sawdust and chemical residues. If you have a circular saw, using a guide clamp ensures your plywood cuts remain straight and clean, reducing wasted wood paneling.
Materials worth paying for
Select high-quality materials to ensure your coop lasts for decades. Use pressure-treated lumber for the base frame and posts, but standard pine studs for the interior framing. For siding, exterior-grade T1-11 plywood is durable and easy to install. Never use standard window screens or thin chicken wire for security; instead, purchase heavy-duty 1/2-inch galvanized hardware cloth to protect all openings from predators. All screws should be coated deck screws to prevent rust.
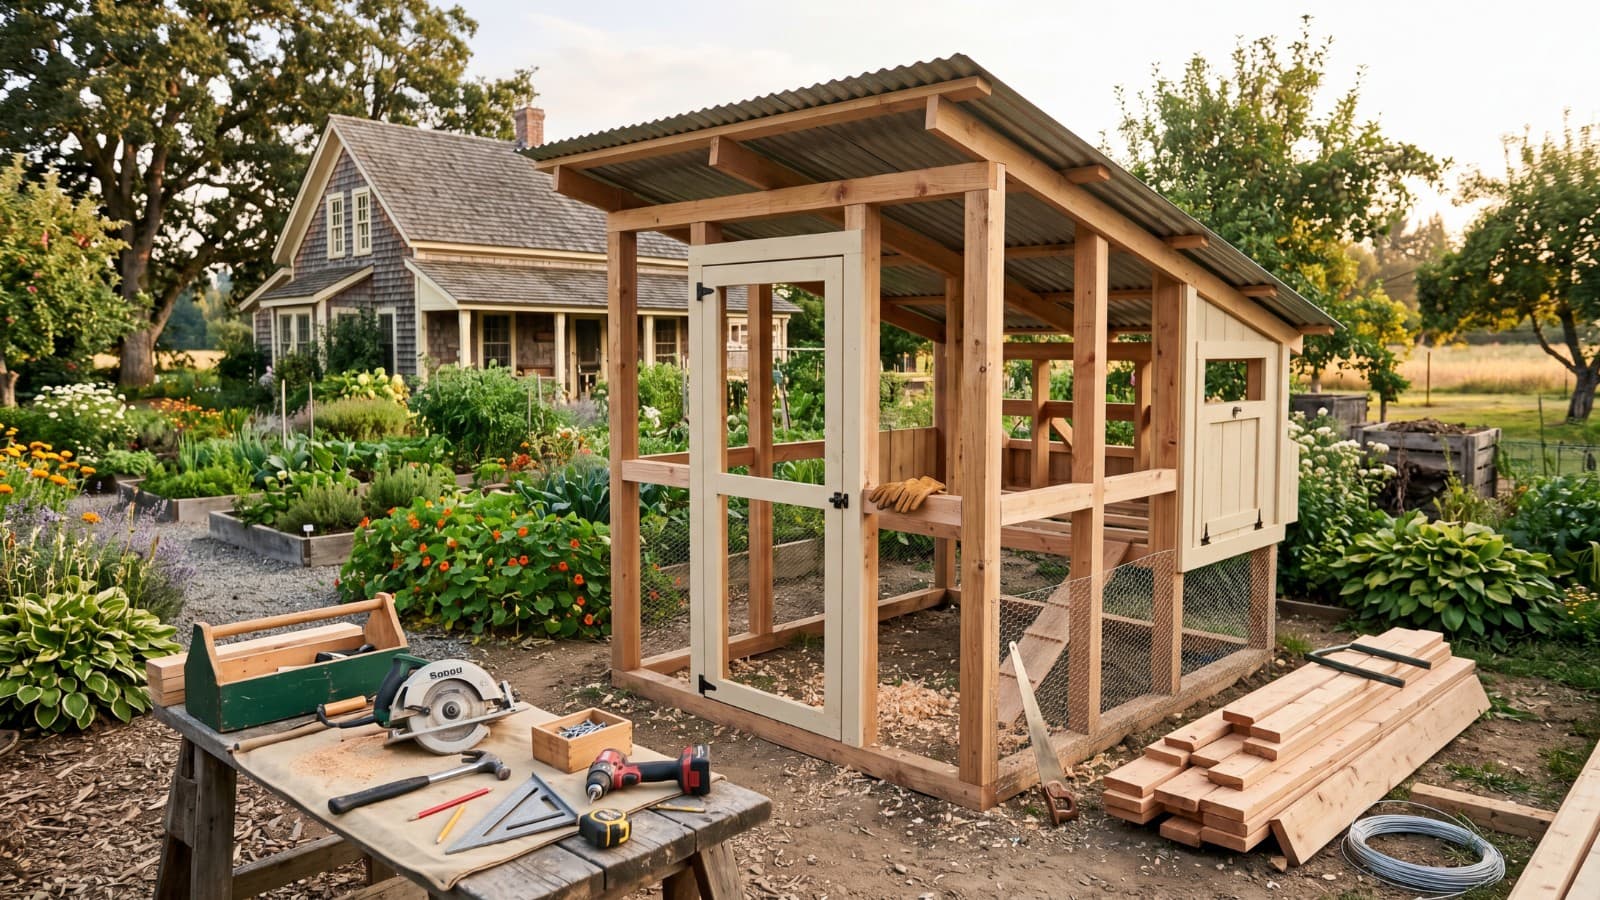
For the roof, corrugated metal or asphalt panels are lightweight, weather-tight, and simple to screw down onto rafters. Paint the interior walls with a durable, semi-gloss exterior latex paint, which seals the wood and makes it incredibly easy to hose down and scrub clean during seasonal deep cleanings. White paint is highly recommended because it reflects light, making the interior brighter and easier to inspect for mites.
Build order that makes sense
A logical build order prevents mistakes and saves time. Start by constructing the foundation and floor frame, ensuring it is level and raised off the ground to prevent rot. Next, assemble the wall frames on the ground before raising and screwing them to the floor. Install the rafters and roof panels to protect the interior from rain, followed by siding, doors, and windows. Finally, build the interior roosts, nest boxes, and the outer run. This sequence ensures you work under cover once the roof is on.
Building the wall frames on a flat surface like a driveway ensures they remain square. When mounting the roof rafters, ensure you allow for at least a 6-inch overhang on all sides to protect the walls and ventilation openings from blowing rain. Add the siding panels after the framing is securely anchored. Once the exterior is sealed, you can construct the interior features like roosts and nest boxes in a dry environment.
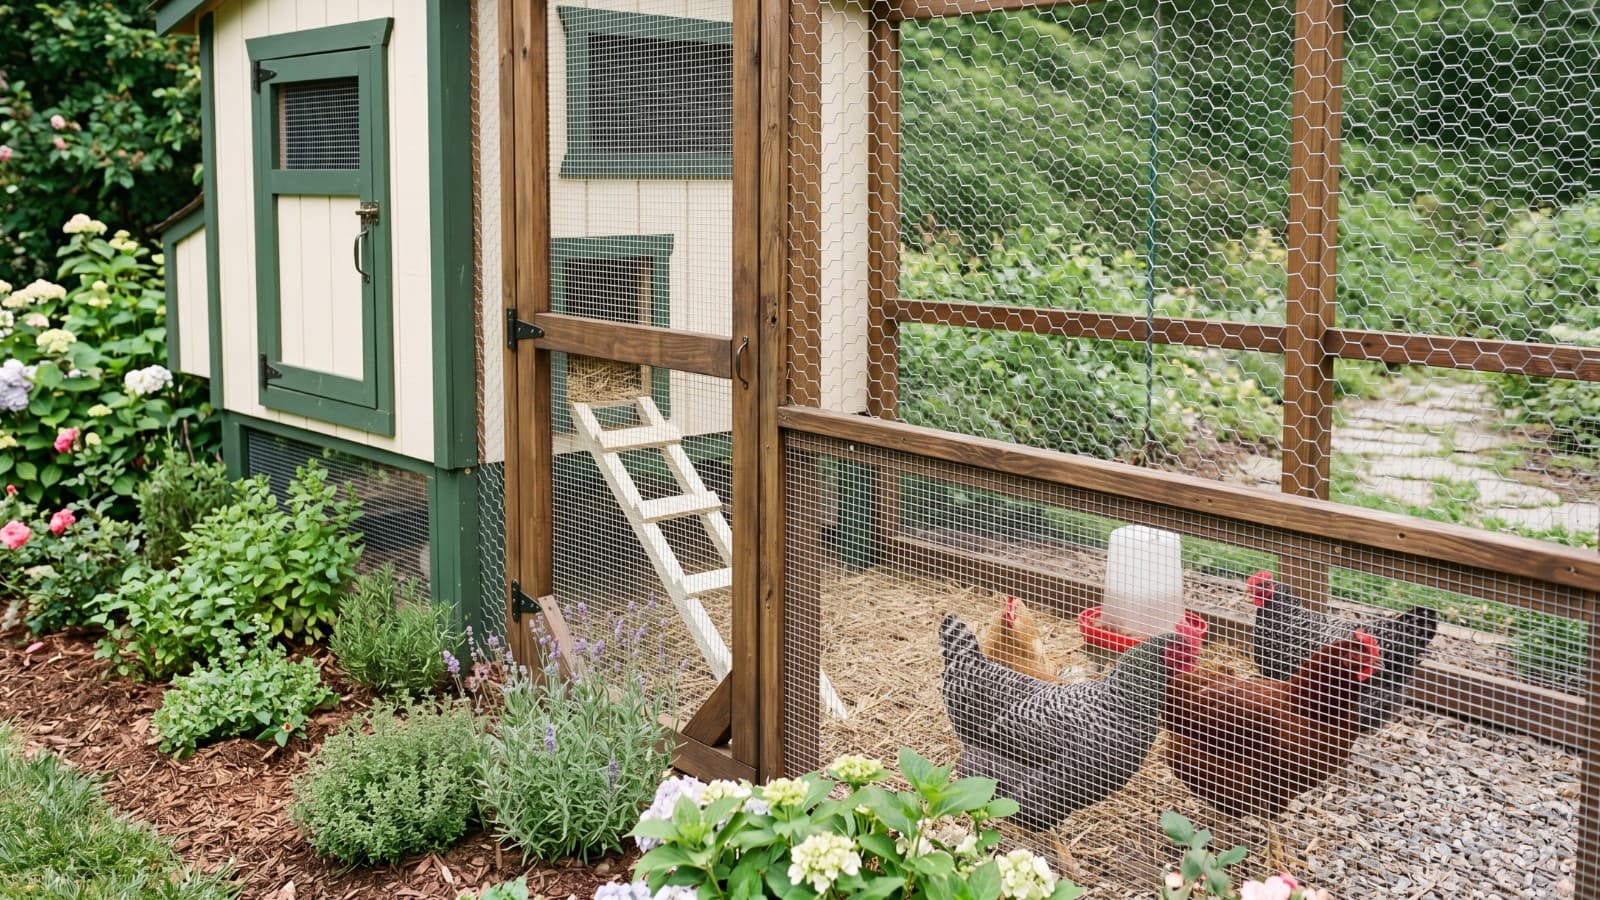
A great benefit of DIY building is the ability to include custom cleaning features that make daily chores simple. Installing droppings boards directly underneath the roosting bars captures the majority of the night's feces, keeping the floor bedding clean. These boards can be made of plywood covered in smooth vinyl linoleum and scraped clean in seconds using a hand scraper. You should also mount nesting boxes so they can be accessed from the outside, saving you from entering the coop daily.
Installing a large walk-in access door or a full-width clean-out hatch on the side of the coop allows you to rake soiled bedding straight into a wheelbarrow. Coating the wooden floor platform in vinyl linoleum caulk-sealed at the edges creates a waterproof, non-stick surface that prevents ammonia absorption. These features keep coop maintenance quick and maintain flock health.
Common mistakes
The most common DIY mistake is building a coop that is too small for the flock, which causes stress, feather-pecking, and egg-eating habits. Another mistake is ignoring cleaning access; failing to include a large door or clean-out hatch makes regular maintenance a chore. Beginners also tend to skimp on ventilation, sealing the coop up tight in winter, which traps moisture and ammonia and causes respiratory illness. Always use lockable latches.
Another frequent issue is using cheap latches. Raccoons are highly intelligent and can easily manipulate simple hook-and-eye latches or sliding bolts. Always use heavy-duty padlocking slide bolts with locking carabiners on all exterior doors to ensure predators cannot break in at night. Skimping on hardware cloth quality is also a common mistake; cheap wire splits easily under predator pressure, compromising safety.
Frequently Asked Questions
Quick, practical answers to common questions about feeding this to chickens.
About the Author

Amy Schmelter is a lifelong chicken keeper raising a large flock in Florida and the author of the upcoming book What I Wish I Knew Before Getting Chickens. She started Chicken Homestead to share what actually works.
Disclosure
Some links on Chicken Homestead may be affiliate links. We only recommend products we’d use ourselves. See our affiliate disclosure for details.